Strategy & Brand
How to Get Comfortable on Camera for Business Video: Practical Steps and Tools
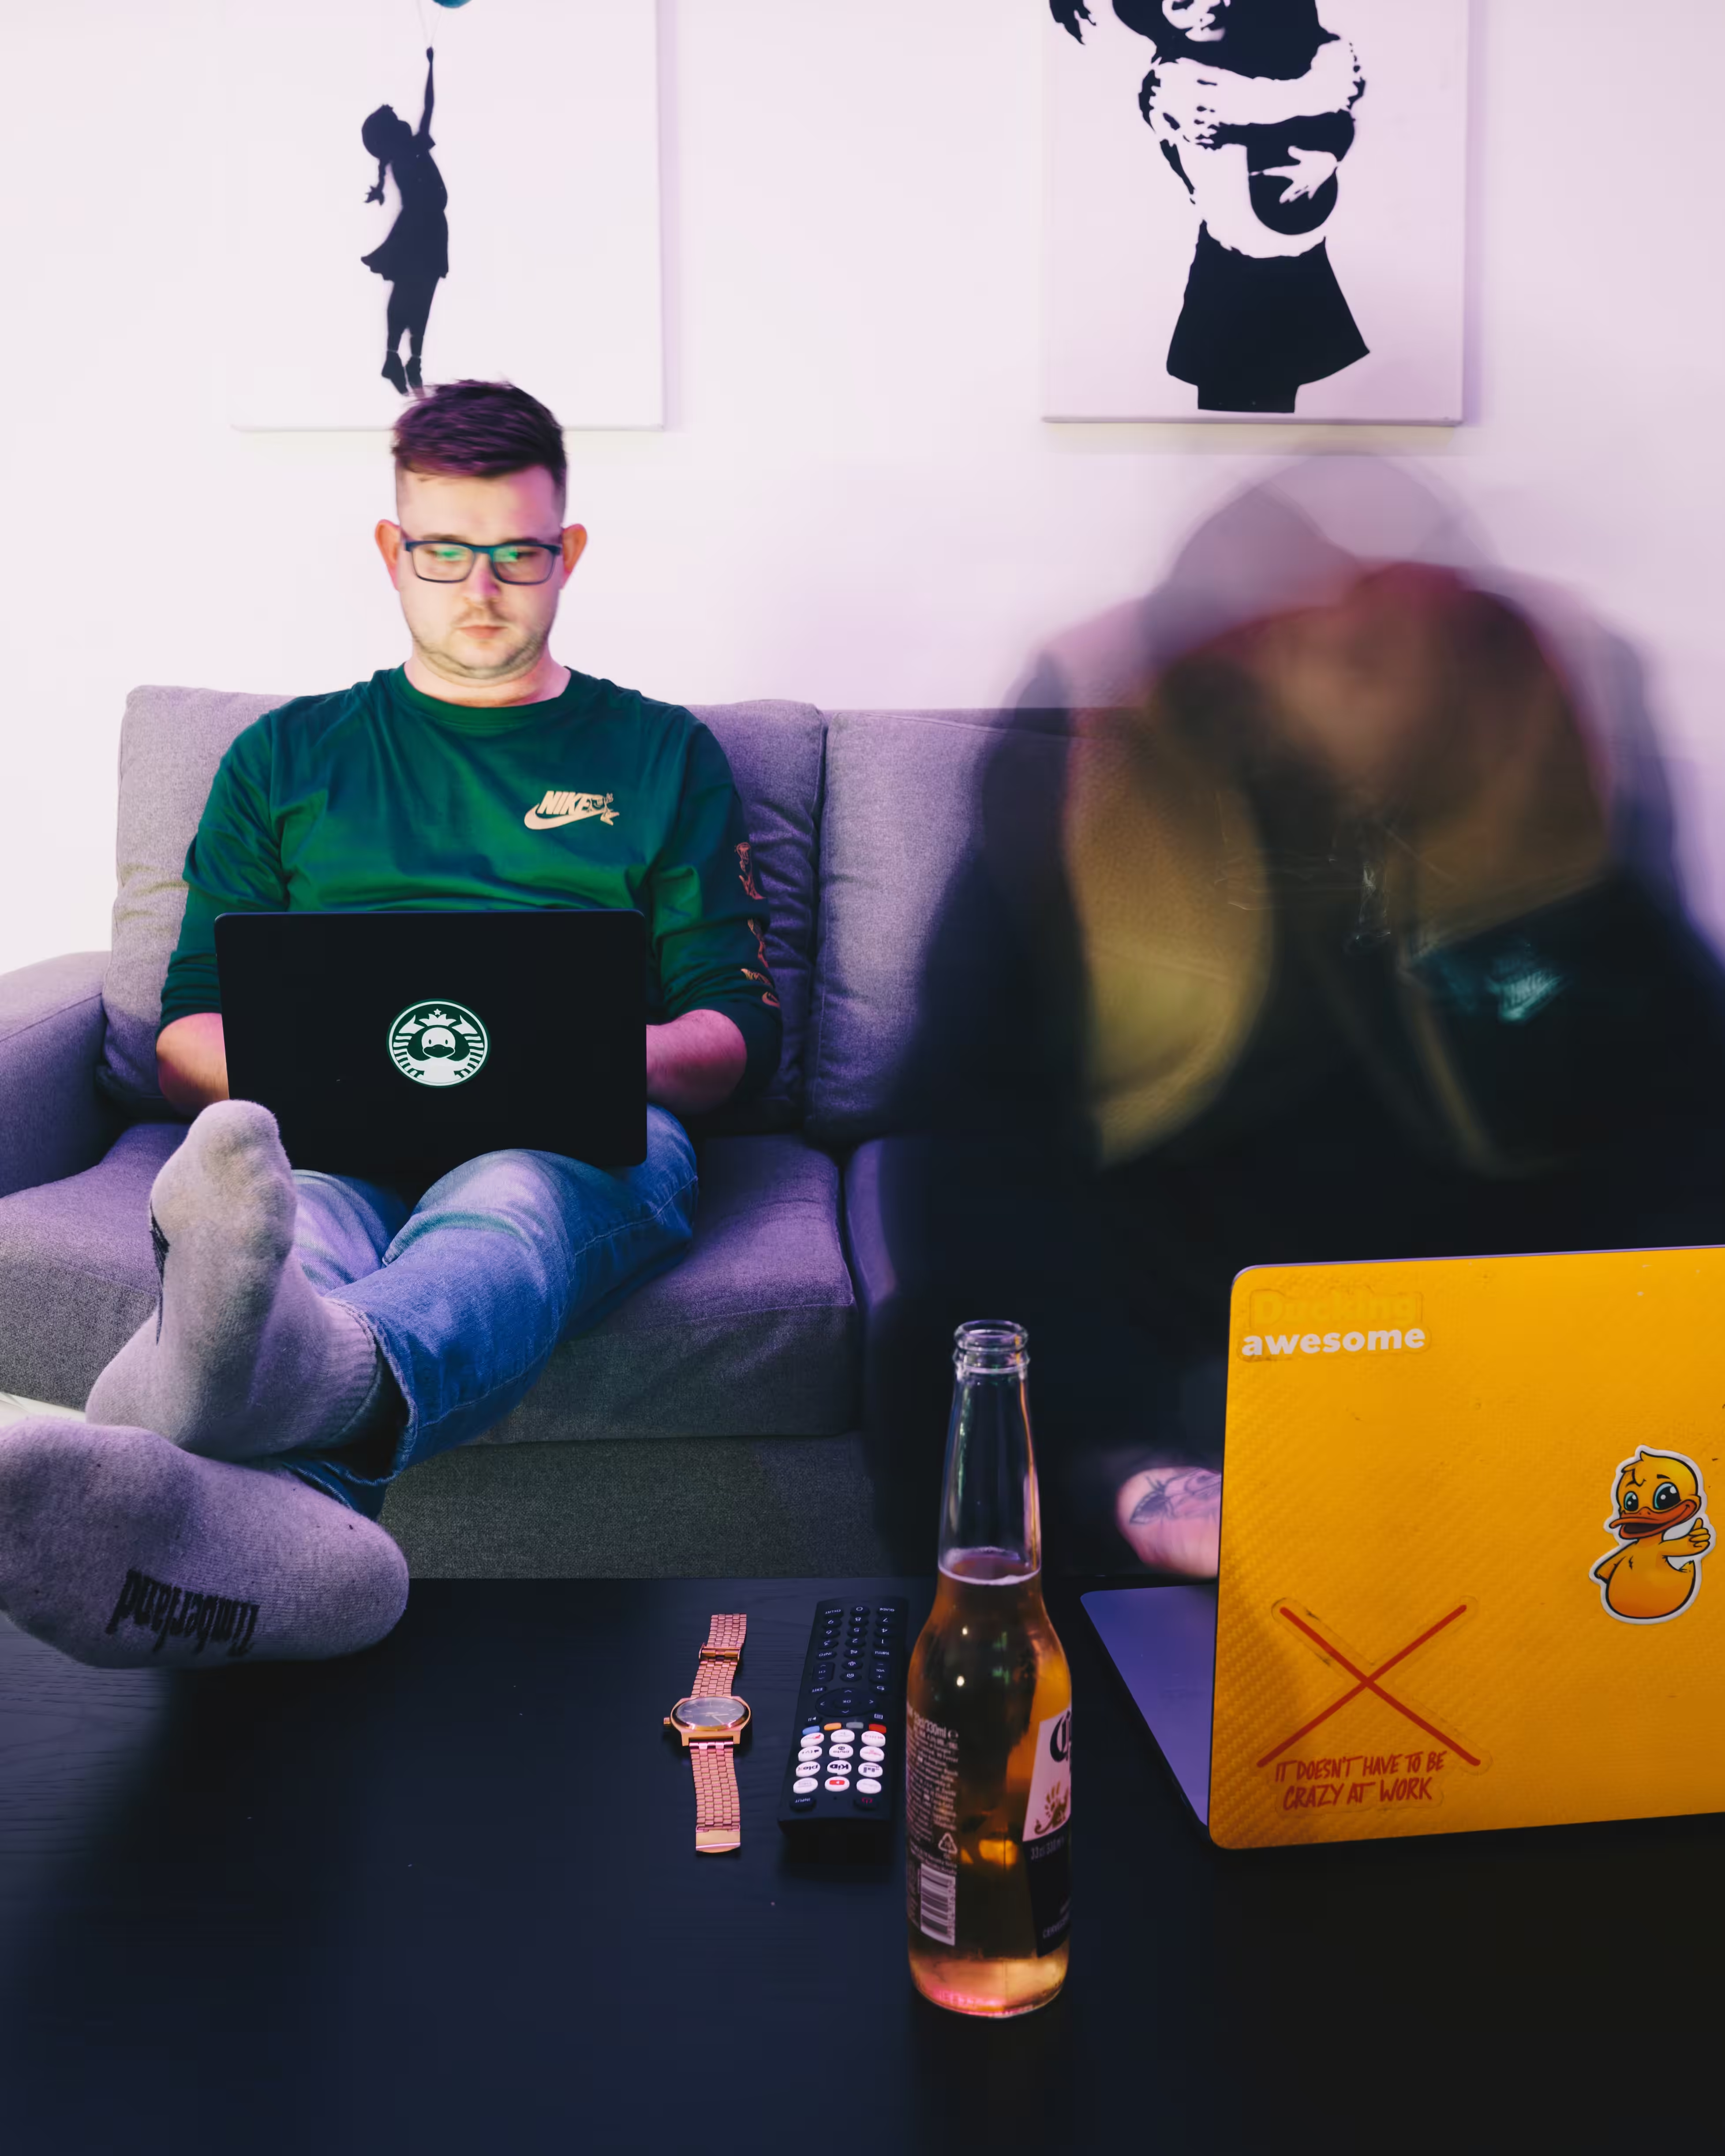
Most people feel awkward the first time they record a business video. Your voice sounds weird, your hands fidget, and you forget everything you meant to say as soon as you hit record. Speaking to a lens isn’t natural, and hardly anyone’s practised enough to make it feel easy. Camera presence comes from repetition, proper preparation, and a setup that
Most people feel awkward the first time they record a business video.
Your voice sounds weird, your hands fidget, and you forget everything you meant to say as soon as you hit record.
Speaking to a lens isn’t natural, and hardly anyone’s practised enough to make it feel easy.
Camera presence comes from repetition, proper preparation, and a setup that gets the tech out of your way so you can focus on what you want to say.
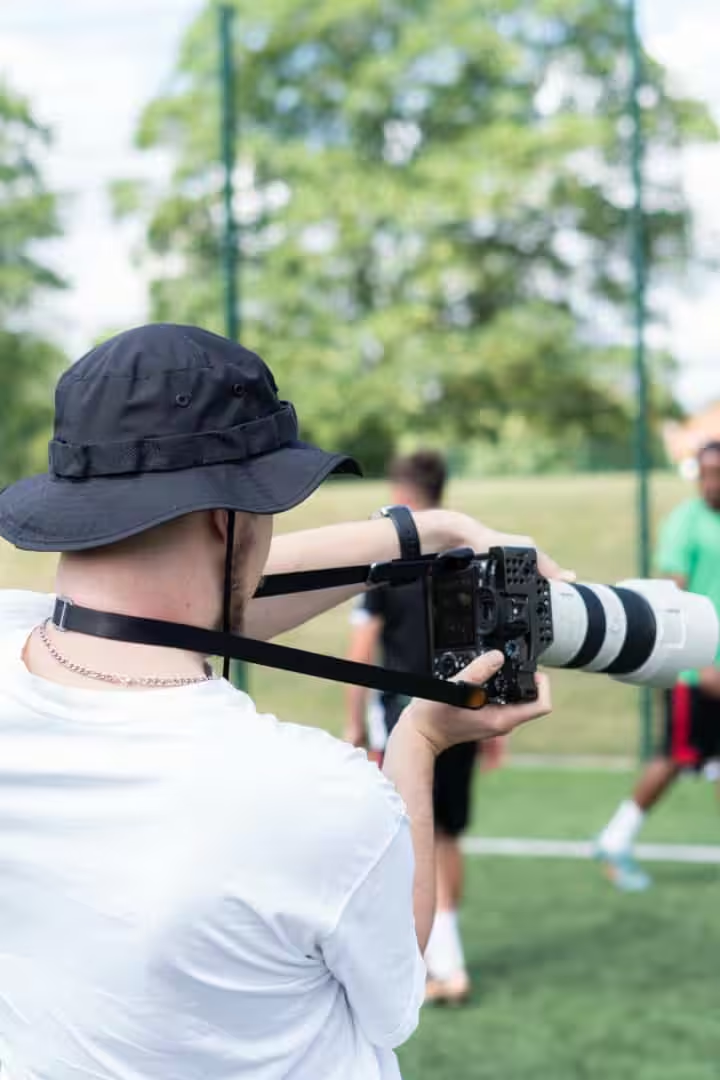
We’ve worked with loads of clients who needed to record explainer videos, onboarding content, and product demos but dreaded being on camera.
Here’s how to prep your content, deal with nerves, set up your kit, and actually use these skills for the kinds of videos your business needs.
Why people struggle with camera presence
Camera anxiety hits experienced professionals and first-timers alike.
Triggers range from fear of judgement to just not knowing what to do with the tech, and any of them can throw you off.
Common triggers for camera anxiety
Trying to get everything perfect in one take adds pressure fast.
Recording feels final, even though you can edit or redo sections easily.
Most camera shyness comes from fear of judgement.
We worry about how we look, how we sound, and if we’re even qualified to speak.
This leads to overthinking, second-guessing word choices, or just avoiding the camera altogether.
If you’re not used to talking to a camera lens, it feels weird and stiff.
There’s no feedback, no nods, no laughs, nothing to tell you if your message is landing.
Imposter syndrome makes it worse.
Even if you know your stuff, hitting record can make you question whether you should be on screen at all.
Performance anxiety and public speaking
Performance anxiety and public speaking nerves feel the same in your body.
Your heart pounds, your palms sweat, your voice tightens up.
The audience is the difference.
When you speak live, you get feedback.
You can read the room, adjust your pace, and pick up on people’s energy.
Camera work takes that away.
You’re performing to silence, so every small mistake feels huge.
Video sticks around too.
A live talk fades from memory, but video sits on your website or socials for ages.
That makes the stakes feel higher and ramps up the nerves.
Camera shyness versus stage fright
Camera shyness and stage fright come from similar places, but you handle them differently.
Stage fright happens in front of people.
You’re being watched and judged live, so you connect with the audience and use their energy.
Camera shyness happens alone.
No audience, no energy to bounce off.
The lens just sits there, and it can feel like every possible critic is staring at you.
Some people who love the stage freeze up for the camera.
Others who hate public speaking find recording easier since there’s no one watching.
Figuring out which type of anxiety you’ve got helps you pick the right tactics to work through it.
Preparing your message and mindset
Getting comfortable on video starts before you press record.
Know what you want to say and try to shift your thinking from fear to clarity.
Clarifying your main idea
Work out what you actually need to say before worrying about delivery.
Write down the single thing you want viewers to remember.
If someone watches for thirty seconds and leaves, what’s the one takeaway?
Most business videos fail by trying to cram in too much.
A product demo doesn’t need your company history.
A client update doesn’t need every project detail.
Strip it back to the core message.
Write it as a single sentence.
Something like: "This feature saves finance teams three hours per week" or "We're changing our delivery schedule and here's what that means for you."
Everything else should support that.
We’ve filmed plenty of business owners who come in with five talking points and leave with one clear message.
The tighter your focus, the easier it gets.
Mapping out talking points
Once you’ve nailed your main idea, build three to five supporting points around it.
Each should take 20 to 40 seconds to explain.
Lay them out in order:
- Opening: your main message
- Point one: context or problem
- Point two: your solution or approach
- Point three: what happens next
- Closing: repeat your main message differently
Don’t script it word for word.
You’ll sound like you’re reading.
Bullet points work better.
Under each, add one example or stat to make it real.
Leave space for pauses.
A couple of seconds between points feels natural.
Rushing makes you look nervous and harder to follow.
Rehearse your key message
Say your points out loud at least three times before recording.
Not in your head—actually speak them.
The first run will feel awkward.
You’ll trip over words.
That’s fine.
Better to catch it now than mid-filming.
By the third go, you’ll spot which phrases work and which don’t.
Change anything that keeps tripping you up.
If you can’t say a sentence smoothly after three tries, rewrite it.
Record a practice run on your phone.
Watch it back once.
Notice filler words, weird pauses, or spots where your energy drops.
Fix a couple of things, then move on.
Chasing perfection just kills your confidence.
On-camera presence: building skills and confidence
Getting comfortable on camera is about building habits that make you less self-conscious.
You want to show up as a clearer version of yourself.
It’s about managing discomfort, using your body naturally, and handling the physical stuff that comes with speaking on camera.
Simple ways to overcome camera shyness
Camera shyness usually comes from worrying about judgement or thinking you have to nail it in one go.
Neither is true, and both make it harder.
Start by recording quick 30-second clips about anything unrelated to work.
Delete them if you want.
It’s the repetition that helps.
When you’re ready for real content, use talking points, not full scripts.
Write your main message, three supporting points, and an example for each.
That gives you structure without forcing you to memorise lines, which always sounds stiff.
Record in segments.
Film your intro, stop, check it, then do the next bit.
We’ve seen clients go from tense to relaxed within three takes once they realise they can pause and restart.
If nerves are still too much, try voiceover first.
Record your audio, then put it over screen recordings or slides.
You’ll get used to hearing your voice before worrying about the video side.
Body language and authenticity
Your presence on camera depends a lot on body language.
Sitting or standing stiffly makes you look uncomfortable, even if your words are fine.
Set your camera at eye level.
Too low and you look down; too high and you end up looking up, which just feels odd.
Stack books under your laptop or use a tripod for your phone.
Keep eye contact with the lens, especially for key points.
It feels strange at first, but it’s what connects you to viewers.
Practise in front of a mirror if you need to.
Use your hands like you would in a real conversation.
Keeping them visible and moving naturally helps you look confident.
Don’t cross your arms or grip the desk.
Wear whatever makes you feel capable.
For client videos, that’s usually business casual.
For internal stuff, maybe just a plain shirt.
If your outfit distracts you while recording, it’ll distract you on camera too.
Managing energy and nerves
Performance anxiety might show up as a fast heartbeat, shallow breathing, or a tight voice.
It’s normal, and you can manage it.
Try box breathing before recording.
Breathe in for four, hold for four, out for four, hold for four.
Do it three times.
It calms your nerves.
Tell yourself you’re excited to share, not scared to mess up.
Your body reacts the same either way, but your mindset shifts how it feels.
Slow down your delivery.
Nerves make people rush, which makes mistakes more likely.
Pause at the end of sentences.
Emphasise key words.
Go about 20 percent slower than you think you should.
Test your audio and lighting before starting for real.
Tech issues add stress, so knowing your setup works takes one worry off your list.
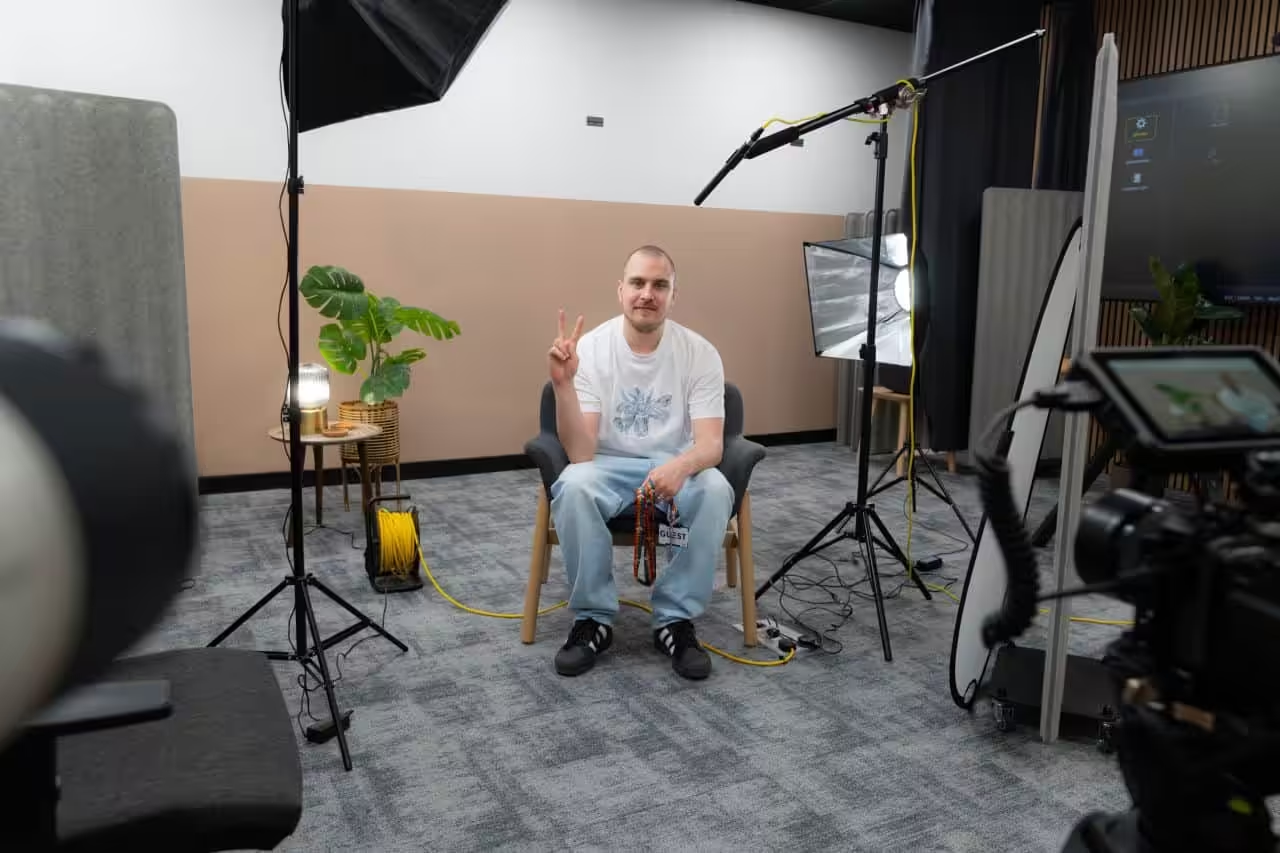
Technical setup for clear video and audio
Good camera presence depends on solid technical basics.
Lighting that flatters, a microphone that picks up your voice cleanly, and a background that doesn’t pull focus all help you look and sound professional.
Choosing lighting and camera placement
Set your camera at eye level.
Too low and you’re looking down; too high feels off.
Stack books or use a tripod.
We put external webcams at forehead height for client videos, and it works just as well for DIY content.
Light should come from in front of you.
Natural window light works if you’re facing it.
Don’t sit with your back to the window.
Skip overhead lights that cast shadows under your eyes.
If you record often, a ring light or softbox makes life easier.
Set it just above or beside your camera so your face is evenly lit.
You don’t need fancy gear, a £30 ring light usually does the trick at a desk.
Audio: why a lapel mic matters
Laptop mics pick up all sorts of noise—keyboards, echoes, background hum.
A lapel mic fixes this by sitting close to your mouth and focusing on your voice.
We use lapel mics for client training videos because they give clear, consistent audio without making people lean in.
Clip it to your shirt, press record, and you’re set.
A USB lapel mic costs £20 to £50.
Plug it in, put it about 15 cm below your chin, and check your audio levels.
Most video apps show a meter—keep your voice in the green.
Clear audio matters more than sharp video.
People will put up with average visuals if they can hear you, but not the other way round.
Staging your background for professional video
Your background should support your message, not distract from it.
A plain wall works fine.
So does a bookshelf or a couple of plants.
Sit a few feet from your background to add depth.
It stops things looking flat and helps you stand out.
Tidy up clutter, close doors to messy rooms, and check the frame for odd objects.
We’ve edited out laundry baskets and mugs more times than we can count.
It’s easier to tidy before you start.
Use the same background for each video if you can.
Consistency makes your videos feel more polished and helps viewers focus on what you’re saying.
Practical tips to boost comfort on video
Recording takes time.
Stay hydrated.
You don’t always have to show your face.
These tweaks can make recording feel less daunting.
Do a couple of takes, not a dozen
Two or three takes usually give you enough options without the headache of sifting through endless versions. If you record the same bit ten times, your energy drops and everything starts to sound lifeless.
The first take can feel awkward while you find your rhythm. The second one often clicks.
By the third, you’re either getting it or you’re just overthinking. If you can’t get it after three goes, the script probably needs fixing. Stop, rewrite that section, then try again.
Camtasia and similar tools let you record in segments. You can tackle your intro separately, then move on to the main content. It keeps each session short and helps you stay energised.
Keep a glass of water on hand
Talking to a camera dries your mouth out fast. That dry, sticky sound creeps into your audio and makes it harder to get your words out.
Keep water close before you start. Take a sip whenever you pause or finish a section.
It’s not about chasing perfection, just keeping your voice clear. We always keep a glass just out of shot. It’s there if you need it, but no one sees it.
Using screen share videos and hybrid recording
Screen share videos mean you don’t have to appear on camera at all. You record your screen, add voiceover, and walk people through what matters.
This is great for software demos or data walkthroughs where the visuals matter more than your face. People want to see the process.
Hybrid recording gives you a bit of both. You show your face at the start to make a connection, then switch to screen share for the details.
We use this a lot for client training. The intro shows who’s talking. The screen share handles the step-by-step, where being on camera doesn’t add anything.
Applying skills to business video formats
After you’ve got some confidence, it’s time to use these skills for the videos your business actually needs. Video interviews and marketing content both need a slightly different touch.
Video interviews and unscripted formats
Video interviews come across best when you stop performing and just have a conversation. We’ve filmed loads of business owners, and the best results happen when they forget about the camera.
Prep matters. Know what you want to talk about and have a few points in mind, but don’t script it line by line. That always sounds stiff.
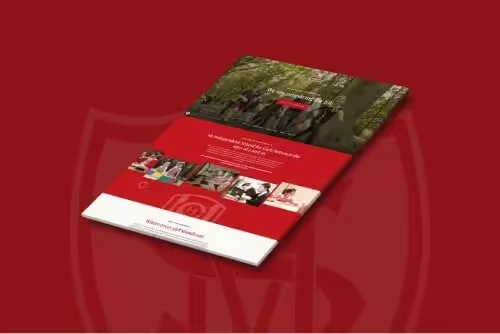
Look at your interviewer, not the lens. It feels more natural and keeps your focus on the conversation. When we recorded interviews for the Precision Proco case study, the owners relaxed once they realised they could just talk to the person, not the camera.
Listen properly between your answers. Unscripted formats fall apart if you’re just waiting for your turn to speak. Real listening shows up on camera and makes the edit feel like a real conversation.
Video marketing and corporate videos
Corporate videos and video marketing usually mean scripts, teleprompters, or talking straight to camera. You need a bit more technical awareness here than with interviews.
Practise your script until you can say it like you’re chatting to someone. If you sound stiff, people switch off. Try recording yourself a few times and listen back. You’ll spot where your voice goes flat or your energy drops.
Keep an eye on your framing and where you’re sitting. Figure out where the camera is and line up your eyeline. For direct-to-camera stuff, look right down the lens so viewers feel you’re talking to them.
Match your energy to the video style. A product demo needs a different vibe compared to a team update or a social media video. Sometimes people use the wrong delivery for the platform, like giving a formal presentation when the video’s meant for a laid-back Instagram post.
Check your lighting and audio before you start recording anything final. Corporate videos usually end up on websites or social channels for ages, so technical quality really does matter.
If this article has been useful, let us know!
Book a free intro call to talk through your needs.